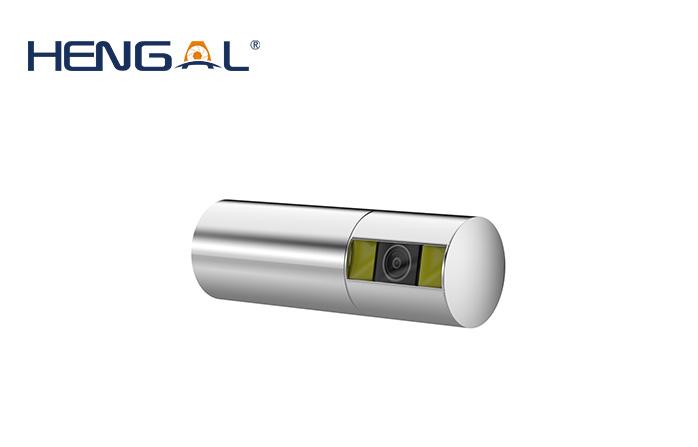
The core of an engine often includes hot components that are subject to high temperatures and heavy loads and are easily damaged. Therefore, defect detection needs to be performed on a regular basis. However, due to the harsh working conditions of these thermal elements, most detection methods are difficult to implement. Aviation 2.8mm diameter camera module has become an effective means to detect the internal condition of the engine.
Visual inspection is an early and widely used inspection method in the field of aero-engine non-destructive inspection. The process of using the aviation 2.8mm diameter camera module to inspect the engine is often referred to as a probe hole in the industry, and the endoscope used is also called a probe hole instrument. As early as 2006, the Civil Aviation Administration of China attached great importance to the formulation of relevant testing standards, and in 2009 officially released the industry standard MH/T3019-2009 "Visual Inspection of Non-destructive Testing of Civil Aircraft", which included hole inspectors in the scope of qualification certification. It can be seen that the importance of hole detection in aviation safety non-destructive testing.
The 2.8mm diameter camera module has three distinct advantages:
1. It can detect the internal condition of the engine. It is usually easy to find the external surface condition of the equipment, but the internal condition cannot be detected by the naked eye. Once the machine fails, it is difficult to locate, so how to detect the internal condition is a difficult problem. The 2.8mm diameter camera module has a natural advantage in this regard. In aircraft engine inspection, defects such as cracks, nicks, pits, cracks, burns, blade tip edges, and blockages inside the engine can be clearly seen.
2. The test results are intuitive. The aviation 2.8mm diameter camera module reflects the internal condition of the device by taking pictures and videos. It has the advantages of real, intuitive and real-time, which is unmatched by other detection methods. For example, ultrasonic testing can determine whether internal corrosion occurs by measuring the wall thickness of the pipeline, which is related to the coupling state of the ultrasonic probe, temperature changes and many other factors. Moreover, the use of wall thickness data to indirectly reflect the corrosion status often requires a large amount of online data to make judgments, and it is difficult to achieve real-time visualization.
3. There are various products. After a long period of continuous development, the technology of this product has become more and more mature, and there are more and more types. No matter what kind of testing place is used, there are corresponding endoscopic equipment that can be matched.
The industrial application of the 2.8mm diameter camera module in aero-engine maintenance has become more and more mature, and many newly produced engines will reserve endoscope inspection holes, such as the holes near the ignition nozzle, and only need to insert the endoscope probe from these holes. Probe into a suitable position, you can observe the internal situation of the engine, and the whole process is detected in real time, which is intuitive.
2.8mm diameter camera module https://www.hengal-tech.com/2-8mm-tiny-endoscope-camera-module-diameter-2-8mm-pshow/13.html

